In my last post, I showed you some ways to use the tiles version of the hero teaser.
Today I want to show you the differences between the layered and the tiled version. In the table below you can see the different input and customization options between the two versions:
| Criteria | Layer | Tiles | ||
|---|---|---|---|---|
| Link | Yes | Yes | ||
| Title | Yes | Yes | ||
| Description | Yes | No | ||
| Image type | Autoselected Custom | Autoselected Custom Color only | ||
| Alternative image text | Yes | Yes | ||
| Show topic heading | Yes, toggle | No | ||
| Text topic heading | Yes | No | ||
| Show call to action link | Yes, toggle | Yes, toggle | ||
| Call to action text | Yes | Yes |
As you can see, the main differences are the description field, the topic heading and the image type.
Possible use cases and conclusion
Layered version
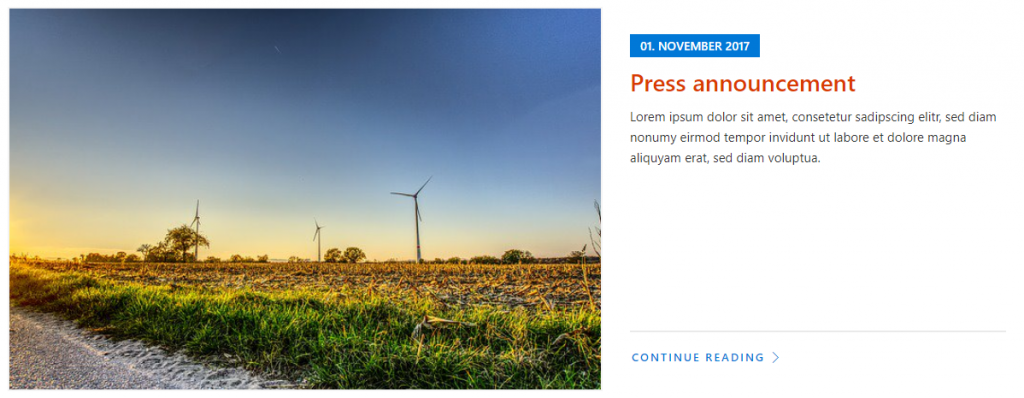
The layered version looks the same as the tiled version in two- and three column layouts. Considering this, the layered version has not as many layout possibilities as the tiled version. The layered version makes sense, when an introductory text is needed for the underlying content. But the text field does not accept line breaks. The topic heading can be used, if entries with more than one topic are shown. Or you could use it to show the date, if the entry is some sort of press announcement as showed below:
Tiled version
Contrary to the layered version, the tiled version can be used where no additional explanation is needed. As shown in the prevoius post, you can also use the tiled version a sort of a content navigation.
My next topic will be the news teaser webpart.